

Decorative Gravel Path
Creating a decorative gravel path can transform your garden, adding both functionality and appeal. Gravel paths are easy to install, low-maintenance, and environmentally friendly. This guide will walk you through each step of the process to lay a beautiful gravel path that enhances your outdoor space.
Step 1: Plan Your Path
Before you start laying gravel, it’s essential to plan the layout of your path. Consider the following:
Purpose: Determine the path's purpose, whether it's for walking, accessing garden beds, or decorative use.
Design: Sketch a rough layout of your path, considering curves and bends for a natural look. Use a garden hose to outline the path in your space.
Width: Decide on the width of your path. A standard width is about 2-3 feet, but adjust based on your needs and the space available.
Step 2: Gather Materials
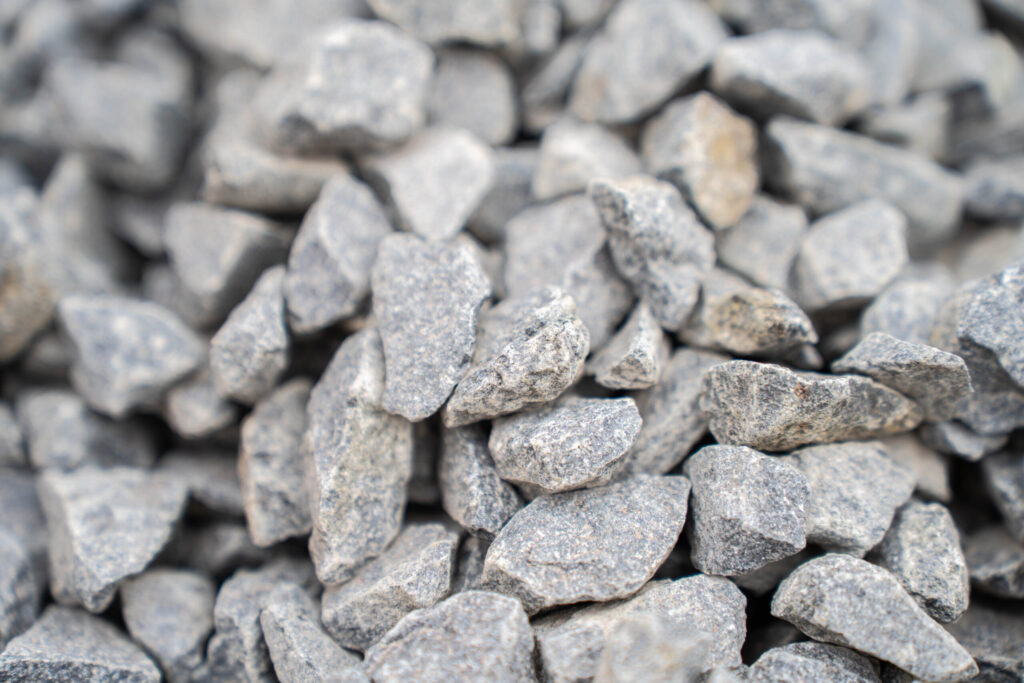
For your decorative gravel path, you’ll need the following materials:
Gravel: Choose a suitable decorative gravel, such as moonstone gravel, which offers an elegant look and excellent drainage.
Weed membrane: This helps prevent weeds from growing through the gravel.
Edging material: Stones, timber, or metal edging can define the path and keep the gravel contained.
Tools: You will need a spade, rake, tamper, garden fork, and wheelbarrow.
Step 3: Prepare the Site
Preparation is crucial for a durable and attractive gravel path. Follow these steps:
1. Clear the Area: Remove any grass, weeds, or debris along the path outline. You may use a spade for this.
2. Excavate the Path: Dig out the path area to a depth of about 3-4 inches. This will accommodate the gravel and allow for proper drainage.
3. Create a Slight Slope: Ensure that your path slopes slightly to one side to facilitate water runoff and prevent pooling.
Step 4: Install Weed Membrane
To inhibit weed growth, lay weed membrane fabric over the excavated area:
1. Cut the Fabric: Measure and cut the landscaping fabric to fit the path area.
2. Secure the Fabric: Use plastic pegs to hold the fabric in place, ensuring it lies flat.
Step 5: Add Edging
Adding edging helps keep your gravel contained and adds a polished look to your path:
Install Edging Material: Position your chosen edging along the sides of the path. If using timber, make sure it’s treated for ground contact.
Secure the Edging: For stone or metal edging, ensure they are level and anchored securely in the ground.
Step 6: Lay the Gravel
Now it’s time to add the decorative gravel:
Pour the Gravel: Using a wheelbarrow, start pouring the gravel evenly across the path. Aim for a depth of about 2-3 inches.
Spread the Gravel: Use a rake to spread the gravel evenly, ensuring a consistent layer throughout the path.
Tamp Down the Gravel: Use a tamper to compact the gravel. This will help to settle the gravel and create a solid walking surface.
Step 7: Finishing Touches
Once your gravel is in place, add some finishing touches to enhance your path:
Add More Gravel: Check for any low spots and add additional gravel as necessary, re-tamping after each addition.
Incorporate Plants: Consider planting low-growing flowers, succulents, or ground cover along the path edges for added beauty.
Create Ambience: Adding solar lights or lanterns along the path enhances the visual appeal and guides guests during the evening.
Step 8: Maintenance Tips
To keep your gravel path looking its best, consider these maintenance tips:
Weed Control: Periodically check for weeds and remove them manually or with a natural weed killer.
Replenish Gravel: Over time, gravel can settle or wash away; replenish as needed to maintain depth and coverage.
Rake Regularly: Rake your path occasionally to keep the surface even and remove debris.
Laying a decorative gravel path in your garden is a straightforward project that can dramatically improve both the look and functionality of your outdoor space. With careful planning, quality materials, and a bit of effort, you can create a stunning path that invites exploration and enhances the beauty of your landscape.
By choosing the right decorative gravel, like moonstone gravel, your path will not only be practical but also a stylish statement in your garden. Embrace this DIY opportunity to enhance your outdoor space while adding value to your home. Happy gardening!
Looking for Skip Hire? Visit our main site here!